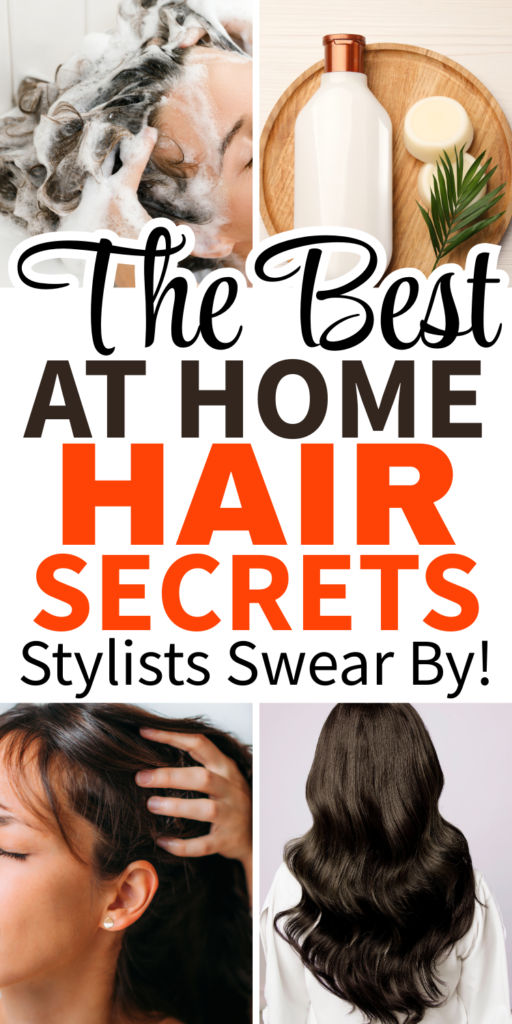
The Secret to Salon-Quality Hair at Home — Without Spending a Fortune
There’s nothing quite like the feeling of walking out of a salon with smooth, shiny, perfectly styled hair. The problem? Those regular appointments add up fast, and the results only last until your next wash. The good news is that you don’t need to spend hundreds of dollars each month to get that same professional look. With the right techniques, products, and a few affordable tools, you can master the art of salon-quality hair at home while saving serious money.
This guide will walk you through the exact steps professionals use to create flawless styles — from prepping your hair to perfecting the finish — and the affordable Amazon tools that can help you get there.
Step 1: Start with a Healthy Hair Foundation
Salon results start with healthy hair. Damaged, brittle strands won’t hold a style or shine the way you want them to. The first step is investing in the right shampoo and conditioner for your hair type.
Tips for healthy hair prep:
- Use a sulfate-free shampoo to avoid stripping natural oils
- Deep condition once a week to keep strands hydrated
- Rinse with cool water to seal the cuticle and boost shine

Repairs broken hair bonds, strengthens from root to tip, and leaves hair smoother and shinier with every wash.
Step 2: Invest in a High-Quality Hair Dryer
One of the biggest salon secrets is using professional-grade tools. A good blow dryer doesn’t just speed up drying time — it smooths the cuticle, prevents frizz, and gives that polished finish you see after a salon visit.
What to look for:
- Ionic technology to reduce frizz
- Multiple heat and speed settings
- A cool shot button to lock in style

Combines drying and styling in one tool, giving you a bouncy, frizz-free blowout at home without juggling a round brush and dryer. It smooths, lifts, and adds shine in one easy step, making it a TikTok favorite for effortless blowouts.
Step 3: Use the Right Brush for Your Hair Type
Your brush makes all the difference in achieving that sleek, salon finish. Round brushes are perfect for creating volume and curl, while paddle brushes are ideal for smooth, straight looks.
Brush types and benefits:
- Round Brush: Adds volume and body, creates soft waves
- Paddle Brush: Smooths and detangles, great for straight styles
- Boar Bristle Brush: Distributes natural oils for shine
Pro Tip: Use sectioning clips to work in small, manageable parts for a more professional finish.
Step 4: Don’t Skip Heat Protectant
One of the quickest ways to ruin your hair at home is by skipping heat protectant. Heat styling without protection can cause breakage, dryness, and split ends — making it harder to get that salon shine.
How to use it effectively:
- Apply to damp hair before blow-drying
- Use a light mist on dry hair before flat ironing or curling
- Choose a formula that also adds shine and smoothness

Shields hair from heat damage up to 450°F while adding smoothness and reducing frizz.
Step 5: Master the Blowout Technique
Salons don’t just blast hair with heat — they have a method. To get that same volume and smoothness at home:
- Towel-dry hair to remove excess water
- Apply heat protectant
- Section hair into four parts
- Use a round brush to pull hair upward at the roots for volume
- Roll the brush under at the ends for a soft bend
Pro Tip: Always finish with the dryer’s cool shot to set the style.
Step 6: Upgrade Your Straightener or Curling Iron
If you’re still using a flat iron from five years ago, it’s time for an upgrade. Modern styling tools heat evenly, glide smoothly, and help prevent damage while giving you long-lasting results.

Creates sleek, frizz-free styles in one pass with consistent heat and ultra-smooth plates. Perfect for straightening or creating waves.
Step 7: Add Shine Like a Pro
Stylists often finish a look with a shine serum or spray to give that “just stepped out of the salon” glow. These products smooth the cuticle, reduce frizz, and make hair look healthier instantly.
Shine boosters to try:
- Lightweight serums for fine hair
- Argan or coconut oil blends for thick or coarse hair
- Anti-frizz finishing sprays for humid climates
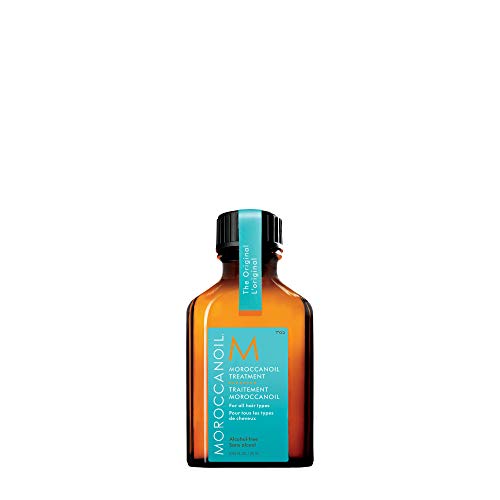
Infuses hair with argan oil for instant shine, softness, and manageability without weighing it down.
Step 8: Learn Quick Touch-Up Tricks
Part of the salon look is keeping your style fresh between washes. A few quick tools can make your hair look like you just got it done.
At-home refresh tips:
- Use dry shampoo to absorb oil and add volume
- Smooth flyaways with a tiny bit of serum or a toothbrush sprayed with hairspray
- Touch up curls or waves with a curling wand
Step 9: Trim and Treat Regularly
You don’t have to go to the salon every few weeks, but you should still trim your ends every 6–8 weeks at home or with a stylist. Regular trims prevent split ends from traveling up the hair shaft, keeping your style sleek and healthy.
Step 10: Build Your Affordable Salon-at-Home Kit
Here’s a quick checklist of the essentials that will help you recreate professional results:
- High-quality shampoo & conditioner for your hair type
- Heat protectant spray
- Professional-grade hair dryer
- Styling tools (flat iron, curling wand)
- Round and paddle brushes
- Shine serum or spray
- Sectioning clips
Getting salon-quality hair at home doesn’t require an expensive arsenal of products or weekly salon visits. It’s all about using the right techniques, protecting your hair, and investing in a few quality tools that make styling easier and faster. By following these steps and incorporating professional tricks into your routine, you can enjoy smooth, shiny, and perfectly styled hair every day — without the salon price tag.